

The leaves are electric in Nashville right now, and it’s the perfect time to start gathering them for fall crafts. It’s an easy and inexpensive way to make your home feel like autumn. Below are three great crafts for decorating candles.
Fall Candles
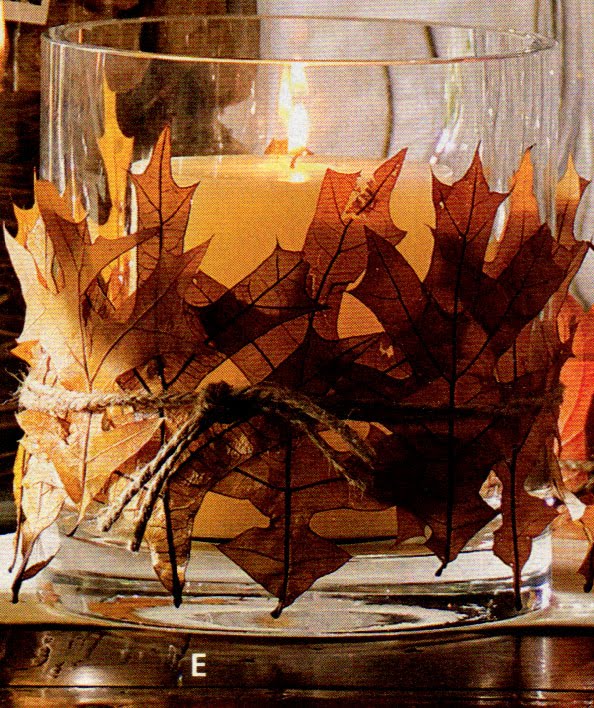
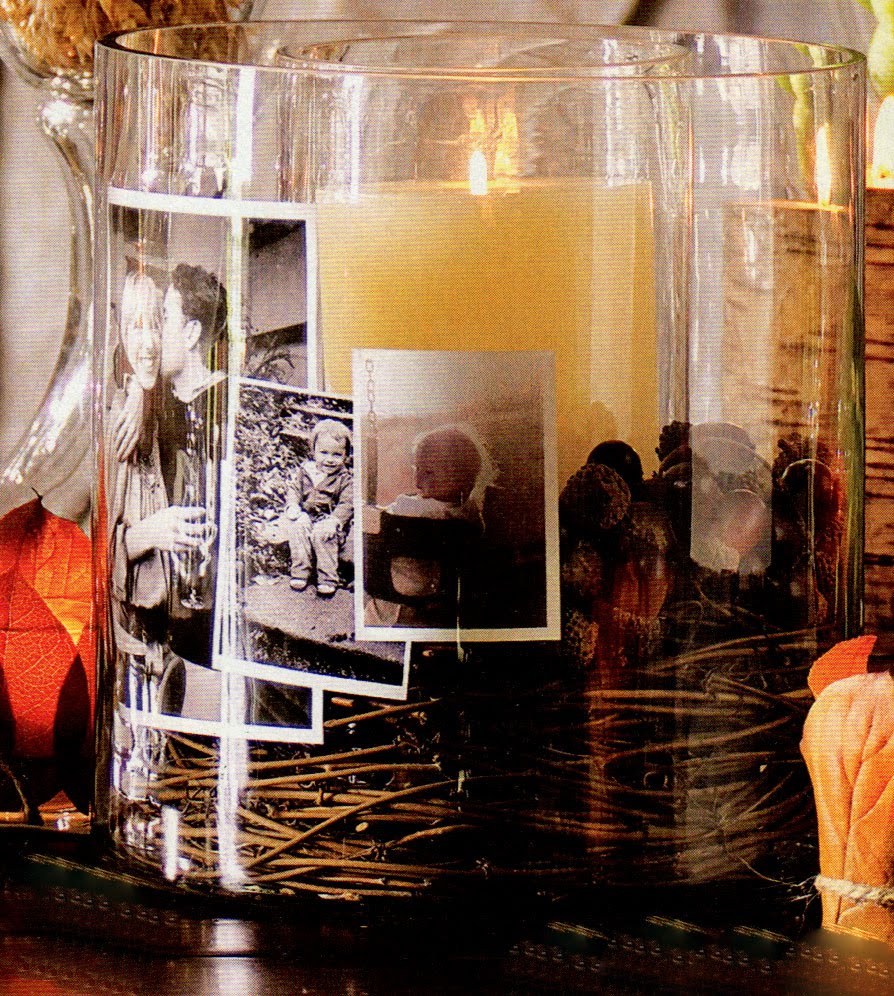
Step 1: Buy an inexpensive vase or hurricane glass container from Joann Fabrics, Michaels or any other craft store as well as a strand of twine and a pillar candle (note: vase can be any size you’d like…big or small as long as the leaves are proportional).
Step 2: Gather bright fall leaves from your yard, neighborhood or a local park.
Step 3: Use two sided tape to adhere the leaves around the vase where you’d like them.
Step 4: Tie one big strand of twine around your vase.
Step 5: Place your candle inside and light it.
Step 6: Turn on Sammy Davis Junior, sip a glass of wine and enjoy your new candle.
Place Cards
Here are a couple other fun inexpensive fun fall crafts made out of paper (note: all paper crafts are available to purchase in a precut kit at Paper Source).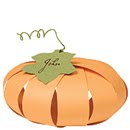
Pumpkin Place Card
 Turkey Place Card
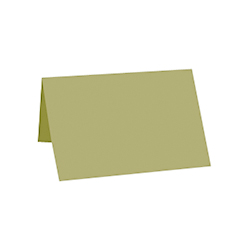 A blank piece of paper for you to make your own place card to decorate with the leaves you gathered. Simply write your guest’s name and glue or tape leave to top corner.
Autumn Wreath

Another fun craft is to make a wreath out of leaves like the one above.
Step 1: Gather leaves.
Step 2: Cut an old box into a 16″ diameter circle.
Step 3: Make the circle into a donut by cutting a small circle of 10″ diameter out of the larger circle.
Step 4: Hot glue leaves onto cardboard donut and arrange so that leaves cover entire cardboard donut. I like the wreath to fill full, so I add a lot of leaves! Also, it looks nice to have the leaves hang off the edge of the cardboard donut.
Step 5: Hang on your front door.
Board of Thanks
This is one of my most favorite crafts of all, because you can add to it everyday!
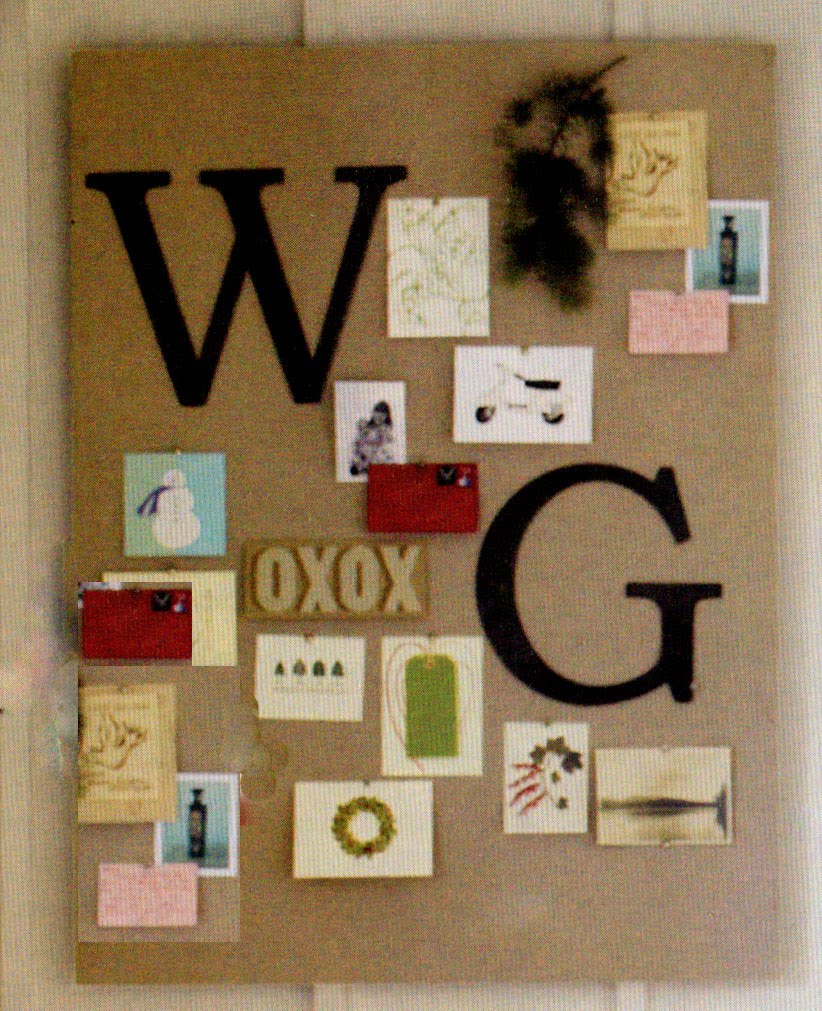 Step 1: Buy a 24″ x 36″ bulletin board or take an old cardboard box and cut it into a 24″ x 36″ rectangle.
Step 2: Buy a piece of burlap or use a neutral fabric that you have laying around your house to staple around the entire 24″ x 36″ rectangle.
Step 3: Buy a picture hanging hook and hot glue it to the back of the rectangle. Let glue dry completely before continuing craft.
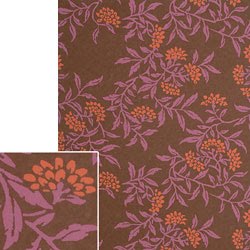
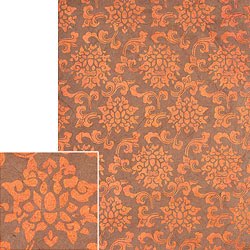
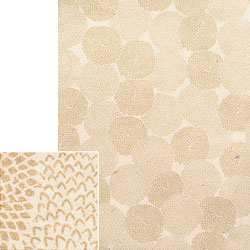
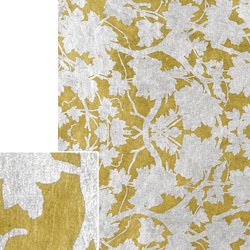
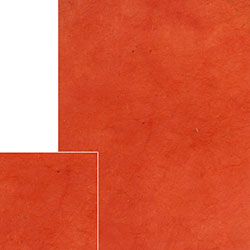
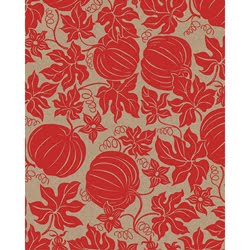
Step 4: Buy some of your favorite paper or use paper that you have around your house to pull together a grouping of colors and patterns that go together. My favorite paper is from Paper Source. You can buy this online if you do
n’t have a local store. Wrapping paper works great to.
n’t have a local store. Wrapping paper works great to.
Step 5: Lay out your paper and do a mock up to see how your arrangement looks on your board.
Step 6: Pin or staple your paper to your board.
Step 7: Hang up your Board of Thanks in a place where your family and friends can see it.
Step 8: Write out several sheets of blank paper that say “I’m Thankful For:” and place them next to your board.

Step 9: Have your family and friends write out the I’m Thankful Cards and pin or staple them to your board. You can add to this throughout the days leading up to Thanksgiving.
Step 10: Have each family member and friend share their cards with you during your Thanksgiving Dinner.
I’m going to start working on my Board of Thanks this weekend. I’ll keep you posted on the completed project as it gets closer to Thanksgiving.